Friday 30 September 2011

Borders.... already?

 
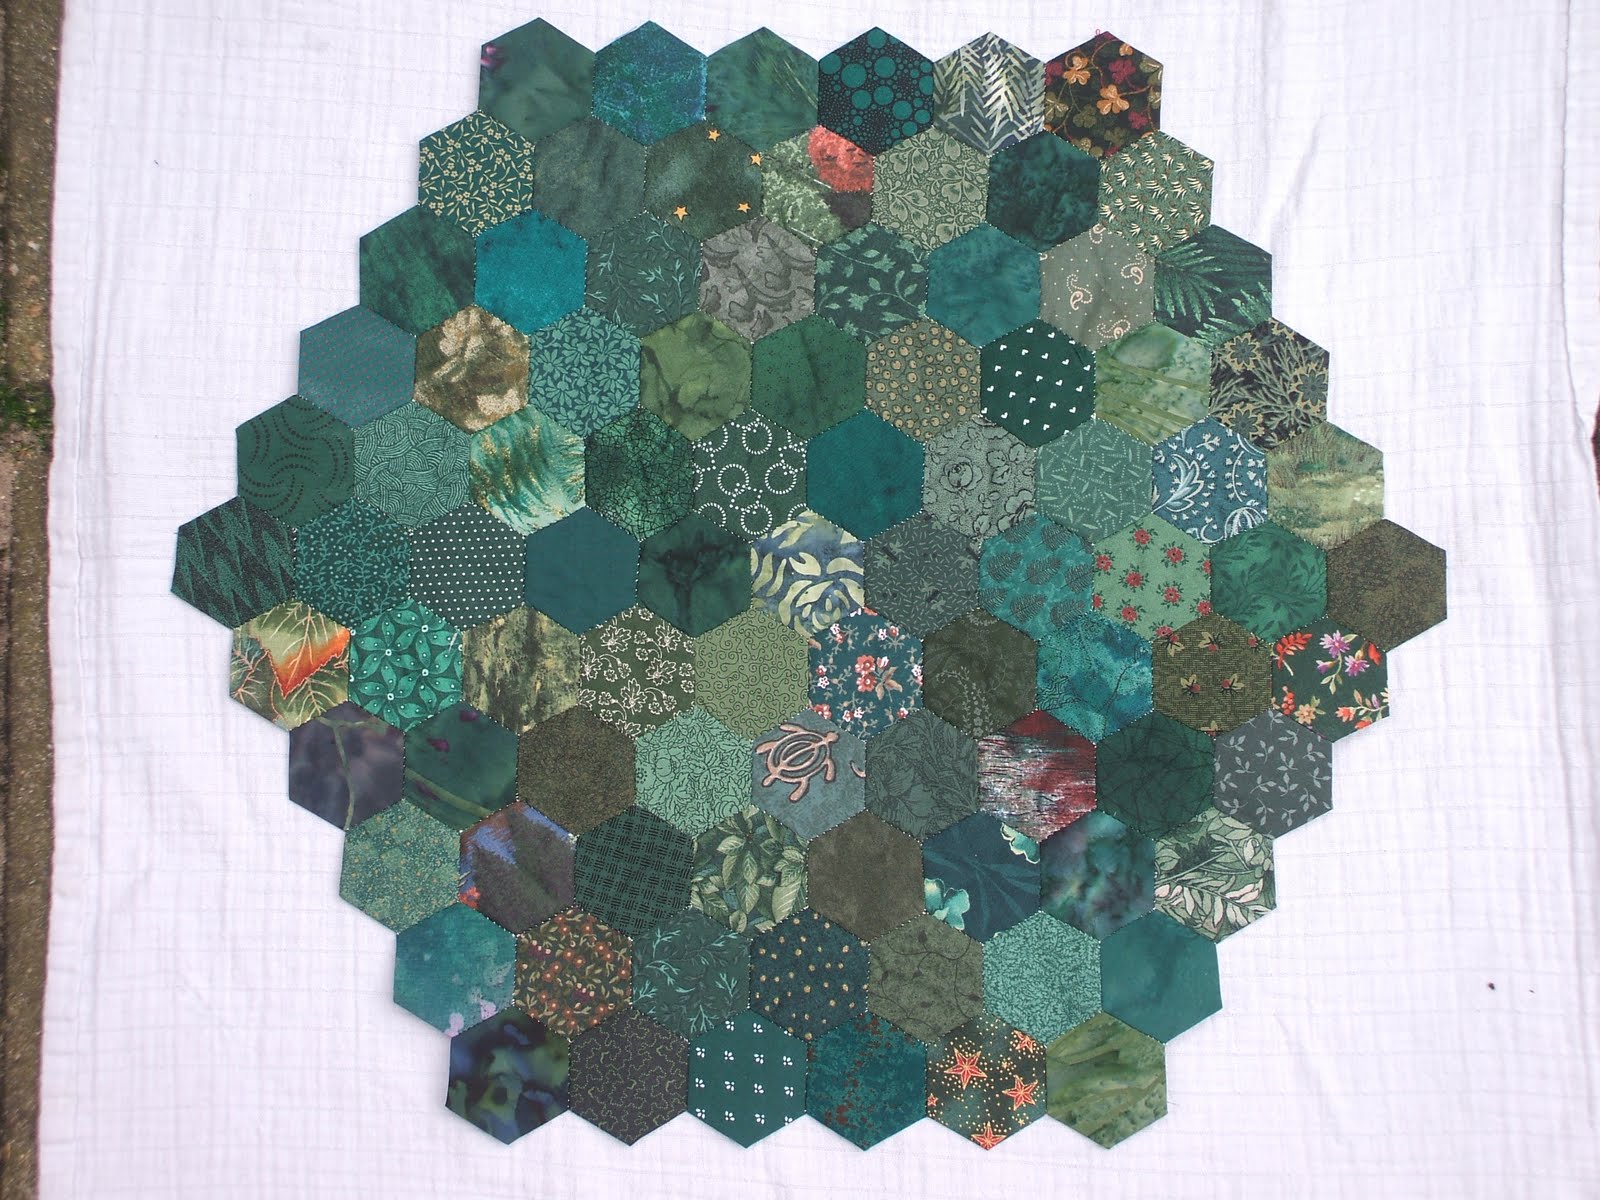
Usually one waits with the borders till the main part of the quilt is finished. However I was tired of cutting orange fabrics and wanted to sew something so I got out the box of green 1 1/2 inch squares and decided to see how far I got with them before I ran out with the only rule being that I could only use one of each and no more than one. When I started with the greens I had a small bit that was about 30 cm / 12 inches long and now I have 2 lengths.


The green length is 45 inches / 114 cm and is made up of 147 units
The blue length is 46 inches / 119 cm and is made up of 153 units
So the total length made so far is 91 inches / 233 cm which is about enough for one side. The angled edges are to make joining the sections easier later on.

Does it make sense to make the borders already?
Well yes and no:
  • Yes it makes sense as it spreads the work of sewing the fiddly bits together so I don't have to spend weeks *just* sewing 1/2 inch sided hexagons together. 
  • No it doesn't make sense because I have no idea how big the border needs to be, however because I am sewing it in sections and am only using one of each scrap I have, I can always make them longer if I need it.
For now I'm continuing with this a bit longer and am in the middle of preparing the browns which will be about as long as the green length I made.

Thursday 22 September 2011

The most divine cupcakes ever...


Sometimes i have idea's about how to make something - last night after baking some cupcakes for a client I had this most wonderful idea but was too tired to mix up another batch of cupcake batter to try it out. Needless to say it was the best idea ever and I'm glad I took the time to try it out.

What I did was bake a batch of caramel cupcakes using My favourite cake batter  and replace just milk with a mixture of 1 - 2 tablespoon of caramel coffee syrup mixed with 3 tablespoons of milk.

Then after baking while the cakes are just out of the oven make a gooey Fudge mix:
  • 150 grams / 6 oz finely grated fudge (it's a bit of a pain to do but worth it)
  • 2 - 3 table spoons of milk
 How to make:
  1. Put a small amount of water in the bottom of a small saucepan
  2. Bring the water to the boil and turn down so it just simmers.
  3. Put a bowl over the pan making sure it doesn't touch the water (you can throw away some of the water if it does)
  4. Put the milk and fudge in the bowl and gently melt the fudge while stirring.
  5. When completely melted take the bowl off the pan (turn the heat off) and allow to stand for about 5 minutes.
  6. Use a syringe with a large opening (take the needle off) to suck up the fudge mix
  7. Stab a cupcake in the middle with the syringe and squirt some of the fudge into it - it will spill out a little when you take it out.
  8. You will need about 1/3 of the fudge mix for this.

    Then using the rest of the still warm fudge mix make the fudge frosting - you will also need:
    • 1 - 2 table spoons water
    • 125 grams of icing sugar
    How to make:
    1. Add the water and the icing sugar and whisk till blended - add a little water if needed 
    2. Spread the mix over the cupcakes
    3. Allow to set.
    Enjoy! ( I know I did *wink* )

    Monday 19 September 2011

    Pasta bake...


    Every now and then I like to surprise the kids with a cooked lunch - pasta is favourite for this as it's cheap and tasty and today I did an easy pasta bake for them with bacon, cheese and finely chopped onions As I like a crunchy crust on oven dishes I sprinkled breadcrumbs on the cheese to get that extra crunchiness.

    Ingridients:
    • about 250 grams / half a pound of pasta
    • 100 grams / 4 ounces bacon - I used thinly sliced bacon that I chopped up
    • 150 grams grated cheese with extra for on top
    • 1 small onion - finely chopped
    • 1 glass of milk ( 1/4 litre / 1/2 pint)
    • 2 glasses of water ( 1/2 litre / 1 pint)
    • handful of breadcrumbs (optional) 
    • 25 grams / 1 ounce margarine or butter
    How to make:
    1. Preheat the oven to 200 C / 392 F
    2. On a high flame (highest setting on an electric etc. cooker) Lightly fry the onions in the margarine
    3. Add the bacon and fry till cooked
    4. Add the water and milk and stir well
    5. Bring to the boil while still stirring
    6. Turn the heat off and add the cheese bit by bit - it doesn't have to completely melt at this point.
    7. Half fill a deep dish with the pasta
    8. Pour over the sauce you just made
    9. Sprinkle the leftover grated cheese over the pasta and the breadcrumbs if you are using them
    10. Put in the oven for about 45 minutes
    Enjoy!

    Saturday 17 September 2011

    Light Army Greens...


    Done at last! I was starting to get pretty bored of green after about the 7th block - I wanted a change but that wasn't to be. Finishing the greens is a milestone in itself but on top of that it's also the 3/4 mark for me - only another 10 blocks are needed for the project HOWEVER I will be seeing how many blocks I get from all the colours I want to use for this as then I can play around with the blocks and see what I like best.

    Still left to go are the reds, yellows and oranges. I'm doing orange next as oldest wanted to choose which ones I did and he likes orange a lot (youngest choose the greens)


    This is the 30th block and the 10th green one.
    Next up: Cutting oranges!

    For more information see:  The insane hexagon quilt
    To see all the quilt blocks together look here:  Insane Hexagon Project

    Wednesday 14 September 2011

    PIZZA!!


    Today my oldest son's best friend was over and I'd promised him that we'd make pizza again next time he was here so that's what we did. I made the dough and put it in the shapes then I let the kids loose to add toppings of their own choosing. The pizza above was the one shared by my oldest and his friend.  The ones below are made in a dish that has 5 "boat" shaped holes that I filled with dough and me and youngest put toppings on them. These end up as "deep pan"  pizza's while the top one is more Italian style.


    Ingredients for the dough (you can also "cheat" and use a packet to make the dough but it's so easy anyone can do this) enough for the top pizza:
    • 15 gram / 1/2 oz fresh yeast or 1 packet active dry yeast
    • 2/3 cup / 150 ml warm water (Not hot! - hand warm)
    • 2 cups flour
    • 1 tsp salt
    How to make the dough:
    1. In a small bowl put the yeast and warm water mix well and leave for about 10 minutes.
    2. Put the flour and salt into a bowl and mix.
    3. Add the yeast and mix till it's all absorbed
    4. Knead the dough till it well kneaded (5 minutes or so)
    5. Put the dough back into the bowl and cover with a clean cloth or with cling film and put in a warm place. (I find above the central heating works OR on a windowsill of a closed window in the sun OR on the cooker with the oven turned on to the lowest setting) Leave for an hour.
    6. After that time give it a gentle knead for about 1 minute.
    7. Oil the tray your are going to bake the pizza on or line it with greaseproof paper to avoid having to scrape the pizza off the tray *wink*
    8. Then you can roll out the dough into your desired shape. I pressed the dough into the boat shapes but rolled the dough for the larger pizza after pressing it as flat as I could first by hand.
    9. Preheat the oven to   230 C / 450 F
    10. Give it 10 minutes rest as dough tends to shrink a little after rolling before going on to the toppings.
    The toppings basically you can use anything you have around the house as a topping. This is what we used:
    •  Tinned chopped tomato mixed with some French herbs and pepper for the tomato sauce on the base.
    • Cheese - this can be cheddar, mozzarella or something else that melts nicely. We used mature Gouda as that's what we had in the house.
    • Salami
    • Ham
    • Turkish sausage
    • Sweet green pepper freshly picked from the garden (oddly enough the kids will eat this but not shop bought)
    • Sliced onion
    How to proceed:
    1. Put some tomato mix on the base - a thin even layer.
    2. Scatter cheese over the base
    3. Put toppings of choice on top
    4. If, like my kids, you like extra cheese put more cheese on now
    5. Place in the oven for 15 - 20 minutes
    Enjoy!

    Tuesday 13 September 2011

    Dark Army Greens...


    Since I had basted all the remaining greens already (See Making snakes... ) and didn't know which one to do first I asked I one of the IRC channels I lurk in which I should do: "light: or "dark" without telling them what the choice was about. Everyone that voted said "dark" so I did this one first. It would have been done sooner but I had to fix Dilly first and got side tracked by making a necklace as well.

    This is the 29th block and the 9th green one.
    Next up: the tenth (and last) green one - light army greens

    For more information see:  The insane hexagon quilt
    To see all the quilt blocks together look here:  Insane Hexagon Project

    Autumn leaves...


    Despite hating the cold and the wet weather that often comes with autumn I love this time of year - the winds blowing through invigorate me and my idea of fun is to bicycle with the wind against me as fast as I can make myself go (yeah I  know - crazy). Inspired by the changing weather and the leaves that are starting to fall I made this autumn necklace from glass leaf beads I had lying around and leather cords.  I chose green and 2 shades of brown as those are the colours of the leaves being blown around at this time. I used glass beads to match the cords.

    Monday 12 September 2011

    Fixing Dilly...


    Once upon a time there was a cuddly rabbit much like the one above but then in blue. It was given to a baby to be loved. The baby loved it very much and didn't stop loving it as he grew older and when he got old enough to talk he named it "Dilly". Dilly was loved and loved and loved and eventually started to wear out a little so the boys mother darned it to mend the holes. As time went on darning wasn't enough any more so during the first major operation patches were added behind Dilly's face on the left hand side to conserve the face and head as much as possible. After more time a second major operation was required to fix holes on the right hand side and this was done today. 

     One large patch was slid behind the face with the use of a letter opener (much to the distress of the now 8 year old boy) one part going to the front and one part going round the back. on the front near the ear some holes were darned as well.
    At the back the ear was darned as well as the bit down the centre back and the bit to the left of the neck.

    The operation was completed successfully in an hour and the boy is thrilled to bits that his darling Dilly is fixed again. As always you can click the images to see larger versions :)

    Sunday 11 September 2011

    Darkest greens...


    As I mentioned a few days ago I'd had a severe case of butter fingers and dropped all the fabrics for the last 3 blocks. This is the first of those 3 that I'd mass basted and prepared at the time. In the photo's it doesn't look much darker than the last block but when looking at them next to each other there is a clear difference.

    This is the 28th block and the 8th green one.
    Next up: the ninth green one - dark army greens (by popular vote of an IRC channel I lurk in)

    For more information see:  The insane hexagon quilt
    To see all the quilt blocks together look here:  Insane Hexagon Project

    PIES!!


    I love baking pies - I just don't bake them often enough.  Today however I did bake pies - one for dinner and one for pudding. For pudding I made an apple pie and for dinner a beef and potato filling.

    Ingredients for apple pie (no real amounts this time as how much depends on the size of the dish used).:
    • Pastry (enough for the dish you wish to use)
    • Apples (one per person)
    • Cinnamon (to taste)
    • Brown sugar (1/2 table spoon per apple)
    Instructions: 
    1. Preheat the oven to 220 C/430 F
    2. Butter the dish you wish to use with butter
    3. Line with pastry leaving a flap sticking out on each long side that is about enough to reach to the middle.
    4. Core the apples and cut them into 8ths
    5. Mix the sugar with the cinnamon in a bowl 
    6. Add the apples to the bowl and stir to cover the apples with the sugar
    7. Put the apple/sugar mix into the dish with the pastry.
    8. Fold the flaps over so they meet in the middle - leave an opening and then cover the top with any sugar left in the bowl you mixed the apples with the sugar in.
    9. Bake in the oven for about 30 - 45 minutes.


    The beef pie takes a bit more work but tastes lovely. I used bacon fat for my version as my father had taught me to keep the fat from cooking things like bacon and using the fat to cook other things with. This gives a special flavour to the food you are cooking and makes it taste even better.

    Ingredients:
    • 200 gr / 8 ox minced (ground) beef
    • 400 gr / 16 oz small potatoes, sliced
    • 2 spring onions, sliced (optional)
    • 2 large tomatoes, diced (optional)
    • Bell peppers or other veg that fries well can be added to taste.
    • Pepper
    • Gravy granules/powder ( I used Bisto)
    • Glass of water.
    • 25 grams of butter/margarine/grease
    Instructions:
    1. Preheat the oven to 220 C/430 F 
    2. Melt the fat in the frying pan (skillet) you are using.
    3. Add the beef and onions 
    4. Once brown add the tomatoes and fry for a moment.
    5. Add the potatoes and fry for a little longer.
    6. Add the water and bring to the boil
    7. Add the gravy granules/powder
    8. Simmer for about 10 minutes then put in a pie ish.
    9. Cover with pastry and put in the oven for about 30 - 45 minutes.
    Enjoy!

    Thursday 8 September 2011

    Making Snakes...


    When I'm preparing the hexagons for the next block I start by basting (see image above on how I do that) them around a hexagon paper and then laying them out on top of another block so I can see what they will look like when completed. This gives me the chance to make sure that the fabrics chosen work together and that the overall look of the block is what I want. When I was getting out the fabrics for the next block I accidentally dropped the fabrics for 3 blocks (don't ask *wink*) and since I had to sort the fabrics again and didn't have space on the dining room table for this I decided to baste the hexagons and sort them straight into the hexagons as if I was doing one block but then with 3 blocks. I ended up doing 300 hexagons to get the 270 I needed for the blocks as I'm pretty fussy about how the colours go together.


    Having sorted them I then carefully strung them onto a thread so as to keep the order I'd laid them out into - since I always sew in the same way I can go "backwards' and thread them onto the thread in the reverse order that I sew them and then I can just take them off the thread one by one as I sew them into a block and it will be exactly the same as when I laid it out. I call these threads with hexagons "Snakes" In the picture above you can see the 3 "Snakes" I made. I put the two I'm not working on into a box to keep them safe till I need them.

    It probably sounds very complicated but for me it's as simple as making a cup of tea

    Monday 5 September 2011

    Old favourites... Part 3 - Pasta Carbonara


    Saturday I made another old favourite of the kids: Carbonara sauce with macaroni. I made it with bacon, cheese and spring onion this time and although the panful *should* have been enough for 2 meals it was almost completely finished by the kids having not just seconds but thirds and fourths as well!

    Ingredients:
    • 150 grams / 6 ounces bacon strips
    • 3 spring onions - thinly sliced
    • 1 onion - finely diced
    • 25 grams / 1 ounce margarine or butter
    • 1 tablespoon flour
    • 150 grams / 6 ounces cheese
    • 1/2 liter / 1 pint milk
    • Pasta - enough for 3 - 4 people
    How to make: 
    1. Put the water for the pasta on to boil
    2. Melt the margarine / butter in a frying pan (skillet) on a high heat and keep it high till told to change.
    3. Add the bacon and fry for a moment before adding the onion
    4. As soon as the onion starts to go transparent add the spring onion.
    5. Fry for a bit longer till the onion starts to brown.
    6. The water for the pasta should be boiling now so add the pasta to the pan.
    7. Add the flour and stir with a wooden spoon if it's a non stick pan or whisk if it's not.
    8. After about 1 minute you can start slowly adding the milk, first enough to cover the bottom and stirring till it's thick - then adding what's left in 2 - 3 goes each time stirring till it's thick again.
    9. Turn the heat down.
    10. Slowly add the cheese and stir till completely melted before adding more.
    11. Turn the heat off.
    12. Check to see if the pasta is done and if so strain and serve with the sauce.
    Enjoy!

    Thursday 1 September 2011

    The first year...


    This time last year I started sewing the hexagons for my Insane Hexagon Quilt now one year on I'm 27 blocks, 2457 units and 6 colours down the road on my way to completing the quilt. I still have 3 green blocks and an unknown number of red, orange and yellow blocks to go before I'm finished with the central area of the quilt. If you right click the picture and choose "view picture" you will see a high resolution image of the blocks. They are laid out on a double bed comforter cover in order of being made - starting at the top white one and then going right to left on each row - and pinned in place as I had to make the photo on the road in my street as my garden is too small for it to be completely photographed in the sun and I didn't want to have to spend ages laying out the blocks while a car could come driving up any second.  The spaces you see between the blocks are intentional as I plan on sewing the blocks together with a diamond spacer between the blocks. I'll be using a lovely black fabric for it which is a really dark grey leaf print on black which, once cut up, looks more like a marble than anything.

    I also have plans for an equally insane border made up of 1/2 inch hexagons - I haven't worked out how many I need yet and I don't think I want to know *wink* the spaces between the border and the blocks will be filled with equally insane small diamonds (boy will I be cursing when I have to do this bit lol)


    The strip you can see here is 30 cm - 12 inches long and made up of  35 hexagons of 1/2 inch sides. Making the border will probably take me longer than making the central part.

    Quiche.. the easy way.


    Last night I made quiche as the kids had been asking me to make it for a while and I'd promised them it before the end of the month. Since one of the kids friends was staying for dinner and we all have our favourites I made 4 flavours in 2 dishes. Here in The Netherlands Créme fraiche comes in little cups - 100 grams / 3 1/2 oz and 200 grams / 7 oz. and I use the cup from this to measure with.

    For one large quiche you need:
    • One large cup (200 grams/ 3 1/2 oz) Créme Fraiche
    • Use the cup of the Créme Fraiche as a measure and fill it once with milk.
    • Fill the cup again with eggs + one extra added to the bowl. (around 5 - depends on the size of egg but it's always the cup filled with egg +1 egg) - just to add - you crack the eggs into the cup - not the egg shell and all *wink*
    • Enough pastry to cover the inside of a rectangular dish - I usually use frozen pastry.
    • 1/2 pound cheese - anything that melts nicely works - I used Mature Gouda, Semi Mature Gouda and Old Amsterdam - a really really Mature Gouda.
    • Flavourings to taste. ( I used bacon strips, cherry tomatoes and chopped onion)
    How to make: 
    1. Defrost the pastry if using frozen pastry.
    2. Butter the dish you are using really well - sticking pastry really isn't a good thing with this.
    3. Preheat the oven to 230 C / 450 F
    4. Put the Créme Fraiche into a largish bowl.
    5. Measure out the milk and add it.
    6. Mix till it's combined and frothy
    7. Measure out and add the eggs
    8. Mix till it's combined and frothy
    9. Line the dish with the pastry
    10. Put the flavourings into the dish - you can do 2 flavours in a dish if you keep each to one side.
    11. Spread the cheese evenly and then carefully combine the flavourings with the cheese so when you eat it will be evenly distributed.
    12. Pour the eggy mix over it all and give it a stir to make sure that the eggy mix is down to the bottom
    13. Put the Quiche into the oven for about 45 minutes.
    I did one quiche with one half just cheese, one half bacon and cheese. The other one I did with cheese and whole cherry tomatoes and the other half bacon, finely chopped onion and halved cherry tomatoes.

    Enjoy - We did!

    Autumn wonders


    Sometimes I like to go all out and decorate the cupcakes I made. I made a half batch of my usual cupcake batter and made half mocha flavour and half caramel flavour. I then made some simple icing from icing sugar, water and some flavouring (again mocha and caramel). I made some flowers from marzipan and put them on top while the icing was still wet.

    Needless to say there aren't as many now as when I made the photo above *wink*