Sunday 30 August 2015

Tons of Tiny - July & August Edition

What is Tons of Tiny? In short it's a SAL where you stitch small projects and talk about them. Last time I posted I had brought the number of tiny's I'd finish finished to 27, this time I'm going to raise that number even more, though not by so much as my stitching has slowed down this summer and I only finished things that had blog deadlines other than Celtic Wolf which is too large to count.

July:

From 11th June till 10th July I stitched the following items that count as a tiny:
The Mucha Princess inspired fob - you can read all about it, and find the pattern for both this and several other colour variations here: Fob a Month - 4. You can also finish this as a normal biscornu as Carla did with hers, you can find the photo here: Tons of Tiny Everything Since April....I Think

And as usual I made my Ornament of the Month - this time just the one as I still need to do the garland finish one. As this is the ornament finish I added the border from the wall hanging option to make it larger than the basic ornament, that I finish as a garland addition. It's 3" square and made on 16ct antique white Aida with 3 colours of DMC, seed beads and a bicone. You can find the pattern here: Ornament of the month - July

August: 


From 11th July till 10th August I didn't stitch as much, mostly because I went on holiday with my bf for 10 days in this time and of course I was quite busy in the run up to it. I did however find time to do the monthly fob, though I posted about it after I returned.
The Fob of the Month fob was inspired by my holiday plans: to go to Hastings pirate day and be a wench for the day. I used glow in the dark thread for this just to add a bit of a surprise that one would not normally expect from a fob. You can find the pattern here: Fob a Month - 5

Last of all I did the August ornament of the month It's the same size etc as the ornament above, except I used a flower bead instead of a bicone on the tassel. You can find the pattern here: Ornament of the Month - August


As all of these are single sided, that brings the grand total to 31 tiny's

Saturday 29 August 2015

Halloween SAL with Leonore and The Gang - Week 1

Leonore wanted to do a Halloween SAL using The Frosted Pumpkin Stitchery's Halloween Spooky Sampler.  Leonore, Nancy and Carla are going to stitch a square per week starting last week. The rest of us girls are going to stitch whatever we choose AND SO CAN YOU! How? Read more here: Halloween SAL with Leonore and The Gang
(please note I shamelessly stole the title and the above paragraph, with a few changes of my own, from Carla's post as she wrote it so well <3)

I am not the biggest fan of the cute style of The Frosted Pumpkin, though I do admire what people stitch of theirs, it's just not my style, so I decided to do a couple of things from the Just CrossStitch Halloween special.
I am planning to do the owl from the cover, the crow on a pumpkin (I was sure it was a raven!) from page 80 and the Halloween Days sewing basket from page 88-90 if time allows. There are several other patterns that strike my fancy but I'm pretty sure I won't have time to do them too.

Over the last week I started working on the crow as the threads and fabric I'd ordered had arrived and I was keen to start something small and not green between all the green dots I have been doing for the Fob a Month project, which came so soon after all the greens of the August ornament. As my luck would have it the first colour I had to work with was green - of course lol. Fortunately it was a dark green so it was a very different green.
I am using The Gentle Arts threads for this, in the recommended colours but I'm not stitching in rows as I didn't want stripy effect one usually gets from doing this with variegated threads. Instead I'm stitching in circles - first doing the outlines and then filling them in, which causes the more blotchy effect you see in the photo, which I personally prefer and find more natural looking. It is of course slightly more time consuming than just doing rows and may well use a bit more thread but for something small like this when I've bought the threads specially, I don't need to worry that I'll run out of thread.

I am going to complete the next bit of the polka dot set before going on to do the monthly ornament which is due on Friday and then I shall be able to work on this again - this is the downside of this being a for fun project as it's the first to be set aside when deadline stuff happens.

Till next time! And don't forget: it's not too late - you can join in too!

Friday 28 August 2015

Joining the dots - Part 1

This is part 1 of the additional items that go with the Fob a Month - 6 fob that I posted last week. This week I'm giving the pattern for the pincushion. As it needed to fit into a specific space I first measured the available width and depth to make sure it would fit. I didn't want the pincushion to completely fill the slot as I also want a little space to put other things too.
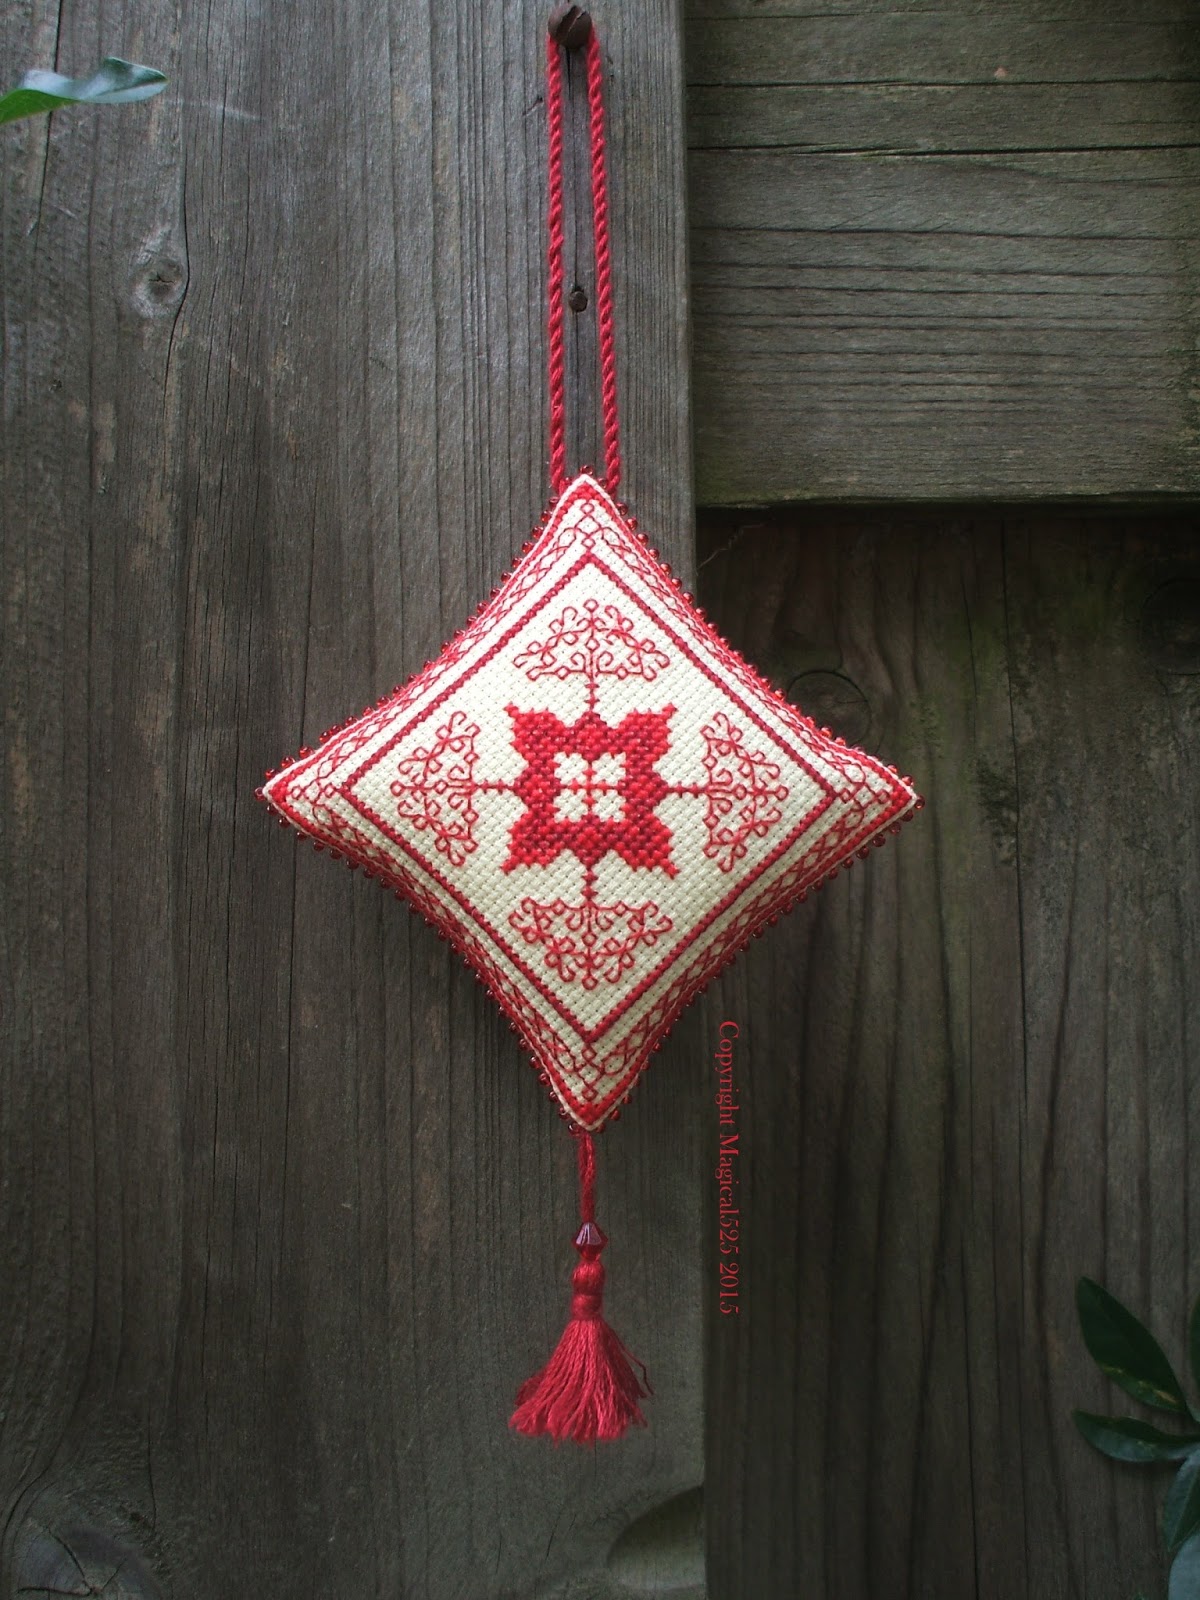
I made mine to have a little green bicone in the centre to mirror what I did with the fob however you could put another dot in the centre instead. As the lid has some brown/orange buttons and embroidery I decided to add that colour into this piece. I loved the backstitch pattern from the August ornament so much that I used that pattern again for the side panels.

I have made 2 different options for the pincushion - the version I made and an inverse version of the top/bottom with a simplified backstitching side panel. I only stitched the front with the polka dot pattern - I left the back empty except for the backstitch lines.

If you wish to make the fob, pincushion and scissor case as a matching set you will need a piece of 18ct Aida or 32ct linen of at least 10" x 15" or 7,5" x 20" - you need to start pretty close to the edge to make sure you have enough fabric left for the rest. You need a 1/4" seam allowance for each piece so the sections must be stitched at least 1/2" away from each other using the back stitch lines as the counting point.

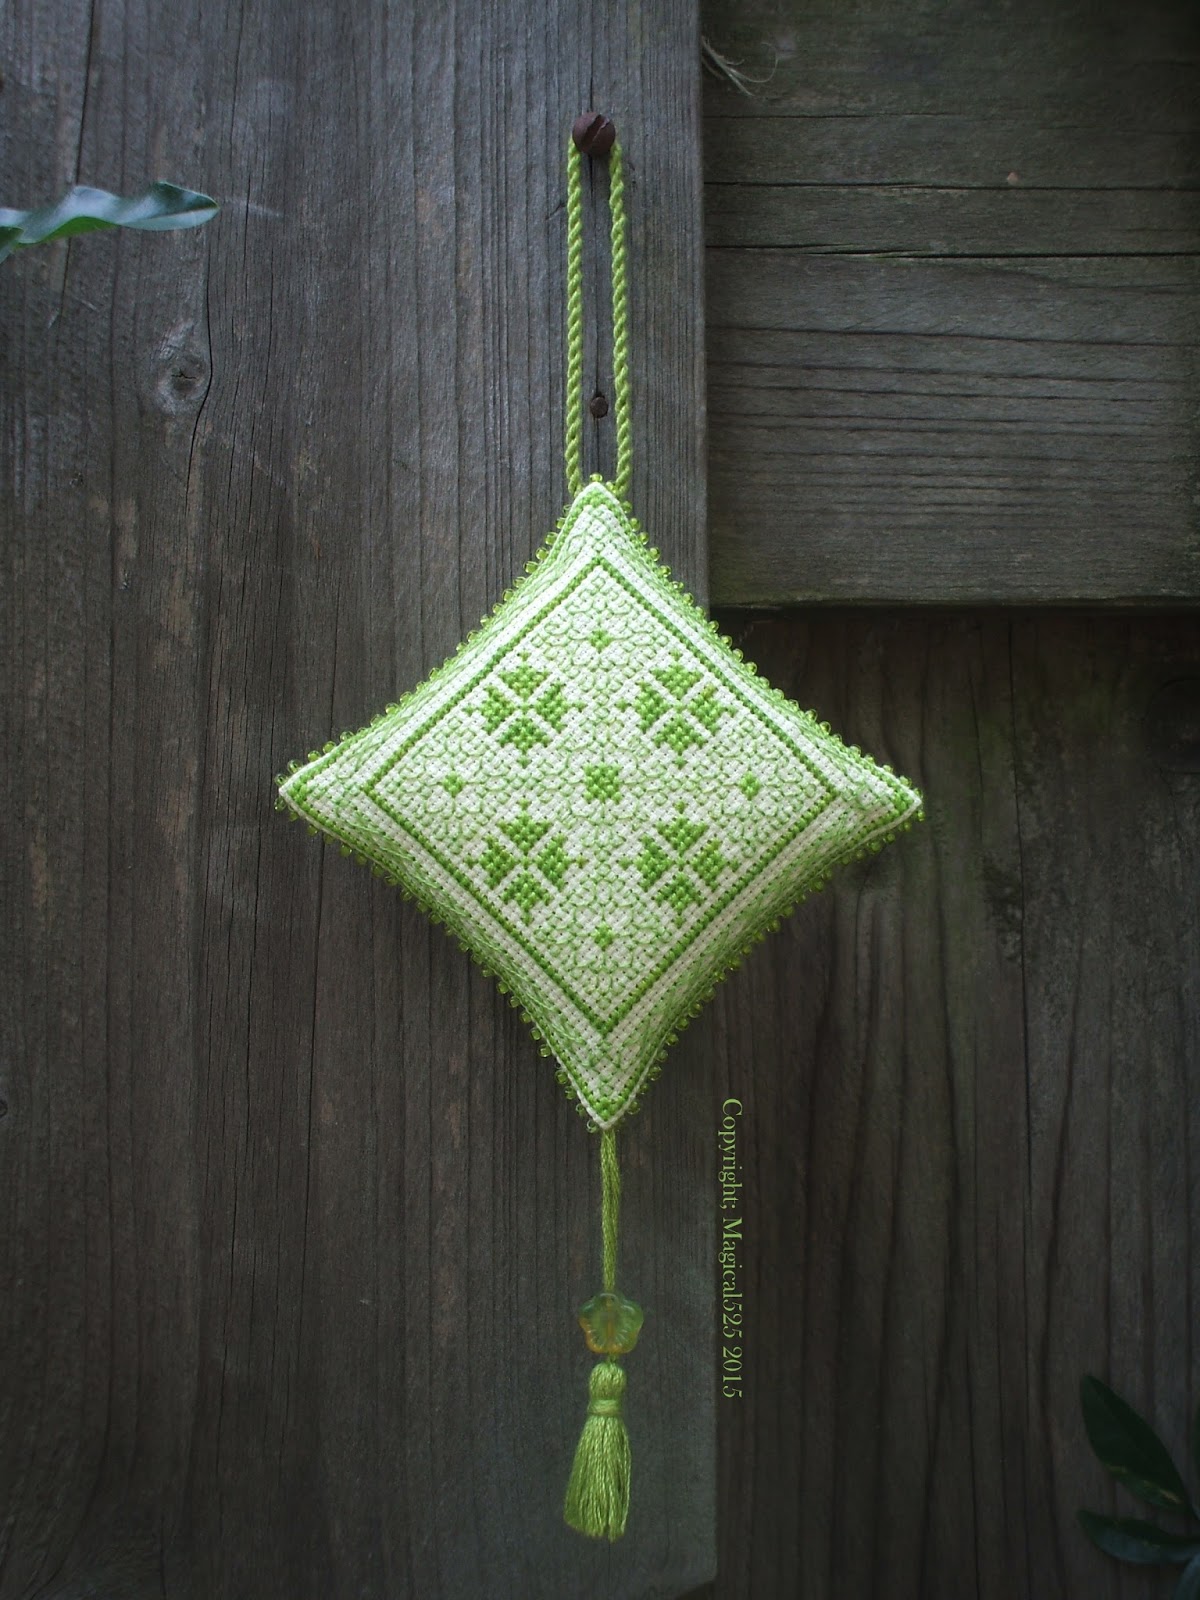
The pincushion is 2" square and 1"high (approx, depends on how full you stuff it). 36 stitches square.
What you need to make the example above:
  • 1 piece of 8" x 8" 18ct Aida or 32ct linen if you are ONLY stitching the pincushion - otherwise see above for the amount needed.
  • DMC 3347, 3348 and 3827
  • Your stuffing of choice
  • 2 small crystal bicones
You can download the pdf pattern for the front and sides here: Fob a Month 6 - Pincushion. For the back you only need to do the outer line of backstitching you can see around the square front.
 
Instructions: Fold the fabric in half before starting - on each half you will stitch either the back or the front AND 2 side panels at least 1/4" away from the centre line so you have 1/4" seam allowance for each side. If you are also doing the fob you want to stitch your pieces so they are about 1/2" away from the back stitch lines of the fob. 
 
Once the cross stitching is done do the back stitch outlines.
Layout suggestion (note I noticed that the centres of the side panels in this picture are incorrect, they should be the darkest green)
Press the completed stitching from the back to make sure there are no creases. Then cut the pieces out 1/4" away from the back stitch lines.

Whip stitch the sections together. I found it easier to first stitch all the side panels to the front and then stitch between the sides before adding the bottom. When you have about 1" left to stitch of the last seam take a moment to add some stuffing, you want it plump but not too plump as it would then lose it's shape and become round. Then finish sewing the last bit of seam.

Last of all sew the 2 bicones in place in the same way as you did the beads for the fob.

I hope you enjoy this pattern, please do share a link to yours if you make it!

Sunday 23 August 2015

Ornament of the Month - August

Umm yeah so... I said I'd post this shortly after the last ornament and then stuff happened and I didn't, I do apologise for that.

August's birthstone is Peridot - which I can spell without too much trouble despite my dyslexia (and the spell checker telling me I should write Period) but I haven't a clue how to pronounce it hehe. It's a limeish green for the most part although it does several other colour variations. I decided to head towards the lime side of things when I chose the colours for the ornament as that is the most recognisable colour when one thinks of the stone.
This month I started with the backstitching after doodling around a while and coming up with the pattern I liked the look of, it was then a bit of a challenge to fill in the spaces left with some cross stitching but I think that the flowers I created look rather nice.

The August ornament was stitched on 16ct antique white Aida with 3 colours of DMC - pattern can be found here: Ornament of the Month - August - The hanging loop and tassel were made with green craft thread, the beads are size 11 seed beads and there is a green flower bead on the tassel. The finished size is 3". As is becoming a bit of a habit I've not yet stitched the garland ornament, summer stuff seems to have really slowed me down.

Not sure when my next post will be but I'm pretty sure that I need to catch up on my Tons of Tiny and Tusal posts and there is of course still the patterns left for the pincushion and scissor case that go with the Fob a Month pattern I gave yesterday.

Saturday 22 August 2015

Fob a Month - 6

It's a day late but unfortunately I had not finished stitching this in time to take photo's in daylight and I've been rather busy today. This month's Fob a Month was inspired by the sewing box my bf gave me last month while we were on holiday together.
It's a handy little box that can carry all I need and fits into my travel bag as well as my handbag. As it has no accessories I decided to make them myself to make the box just that bit more functional for how I would like to use it. Of course I started with the fob and decided to share that this month as part of my Fob a Month project. I also designed a pincushion and a scissor case for the scissors. I haven't yet decided how to deal with the ORTS but I'm sure that once I have the other pieces made that will become clear.
What isn't so clear in the photo's is that the green fabric has white polka dots on it and that's where my pattern inspiration came from. The fob is double sided with one side having the inverse colours to the other.

I will be sharing the patterns I have already designed with you as soon as I have completed stitching them. If you wish to make the fob, pincushion and scissor case as a matching set you will need a piece of 18ct Aida or 32ct linen of  at least 10" x 15" or 7,5" x 20" - you need to start pretty close to the edge to make sure you have enough fabric left for the rest. You need a 1/4" seam allowance for each piece so the sections must be stitched at least 1/2" away from each other using the back stitch lines as the counting point.

The fob is 1 7/8" square. 34 stitches square.
What you need to make the example above:
  • 1 piece of  3 1/2"x 7" 18ct Aida or 32ct linen if you are ONLY stitching the fob - otherwise see above for the amount needed.
  • DMC 3347 and 3348
  • Your stuffing of choice
  • DMC 3347 for the cord and tassel
  • Green seed beads
  • 2 small crystal bicones
You can download the pdf pattern here: Fob a Month - 6

Instructions: Fold the fabric in half before starting - on each half you will stitch either the back or the front at least 1/4" away from the centre line so you have 1/4" seam allowance for each side. Once the cross stitching is done do the back stitch outlines.

Press the completed stitching from the back to make sure there are no creases. Then cut the pieces out 1/4" away from the back stitch lines.

Place the 2 pieces wrong sides together and fold the seam lines between the layers and whip stitch the 2 sides together only going through the back stitch lines, the same as you would for a biscornu, adding a green bead every other stitch, remembering to add the cord and tassel at opposite corners. (Believe me if you do forget things either get pretty complicated or you end up ripping out a whole load of stitches)

When you are about 1" away from the starting point take a moment to add some stuffing, you want it plump but not too plump. Then finish sewing the last bit of seam.

Last of all sew the 2 beads in the centre of each side using a single thread to stitch them in place by going through each side's bead, then through to the other side and repeating that 2 or 3 times for each bead.

I hope you enjoy this pattern, please do share a link to yours if you make it!

Wednesday 12 August 2015

Ornament of the Month - July


I have to admit that I was more than a bit surprised when I noticed that I had not yet posted about the July ornament here - mostly because I had finished the August one last night and came to post about that and found I actually had 2 posts still to make. I did consider doing them together but decided to just inflict you with separate posts.

July's birthstone is ruby which is such a lovely red. I did of course have to make sure it didn't look like the January ornament as that, as you may remember, is also red.


On the left you can see the July ornament and on the right the January one - you can easily see the difference in colour - and in pattern! I wanted to make some kind of flower again and I succeeded at making one that, when not on point, looks rather like a poinsettia and surrounded it with bare branched trees on the diagonals.

The July ornament was stitched on 16ct antique white Aida with 3 colours of DMC - pattern can be found here: Ornament of the Month - July - The hanging loop and tassel were made with red craft thread, the beads are size 11 seed beads and there is a red bicone on the tassel. The finished size is 3".

I have not yet stitched the second ornament - this seems to be something happening more often as I'm so busy lately but I hope to catch up with making ornaments soon. It and the other ornaments I need to make are all kitted up and awaiting attention.

I do hope you are enjoying this series of patterns - I know I am even though I'm having a hard time keeping up with what I want to make.

I will be back soon with the August ornament!

Monday 10 August 2015

A Fob a Month - 5


As some of you may have noticed the July Fob a Month was not posted on the usual date. It was due 3 days before I was due to go on holiday and in the rush to pack there just was no time to post the fob even though I had completed stitching it. Once I got back I had almost forgotten it was due and so here we are several weeks later with the pattern at last!

After the last pattern I decided to make an easier one and felt it was high time the glow in the dark thread came out of the box to play. I stitched it on black even weave to make it show up better but if you prefer you can stitch it with black thread on a light background too.

This year I went to the Hastings Pirate day for the 4th year running and wanted to stitch a fob to reflect my holiday plans which is why I chose the most commonly known "pirate speak" word I know of which is "Arr"
The fob is 3/4" high and 3" wide. 7 x 25 stitches
What you need to make the example above:
  • 1 piece of  6" x 6" 25ct black Jobelan
  • DMC E940 (glow in the dark) or 310 (black) if you are working on a light fabric
  • Your stuffing of choice
  • Black craft thread for the cord and tassel (or just use black DMC)
  • Black seed beads
  • A large crystal bicone
You can download the pdf pattern here:  Fob a Month - 5 pdf pattern

Notes:
  • The black lines are the back stitch lines needed to make the fob - for the back of the fob you can either just do the back stitches or do the pattern a second time. I did the back stitches in glow in the dark.
  • If you want your fob to *really* glow use a matching Kreinik glow in the dark blending filament - it really does help make it glow! 
  • I make my tassels by wrapping craft thread a good 10 times around a bit of thick card that is 1/16th inch thick and 1" wide.
  • I make the cord by measuring out 5 x the length I want. then I loop it around a knitting needle or chopstick and put that though a slatted chair back to hold it in place while I twist then folding it in half and putting a knot in the ends.

Instructions: Fold the fabric in half before starting - on each half you will stitch either the back or the front at least 1/4"away from the centre line so you have 1/4" seam allowance. This is one of those rare occasions that starting with the back stitching is a good idea.

Stitch the letters making sure you consult the pattern carefully for placement. Then cut the pieces out 1/4" away from the back stitch lines.

Place the 2 pieces wrong sides together and fold the seam lines between the layers and whip stitch the 2 sides together only going through the back stitch lines, the same as you would for a biscornu, adding a black bead every other stitch. On the diagonal lines I added a bead every stitch.

At the first pointy end add the loop and at the other pointy end add the tassel. About 1" before you reach the beginning of your stitching stop stitching and stuff the fob with a filling of your choice, then continue to ship stitch the sides together.

I hope you enjoy this pattern, please do share a link to yours if you make it!

Friday 7 August 2015

Ornament of the Month - August

Welcome to the 8th instalment of the Ornament of the Month. August's birthstone is Peridot - a rather interesting shade of green that was a challenge to find colours for, mostly because I first had to pick which shade of Peridot to try to emulate as the stone has several different green colourings.